Tips on growing and caring for bearded iris
By Ann Briggs
WSU Chelan/Douglas County Master Gardener

Many gardeners have at least one favorite plant in their garden. Mine happens to be the lovely, bearded iris. They’re real troopers in the plant world: hardy and relatively pest-free, easy to care for, drought-tolerant and have a beautiful flower display.
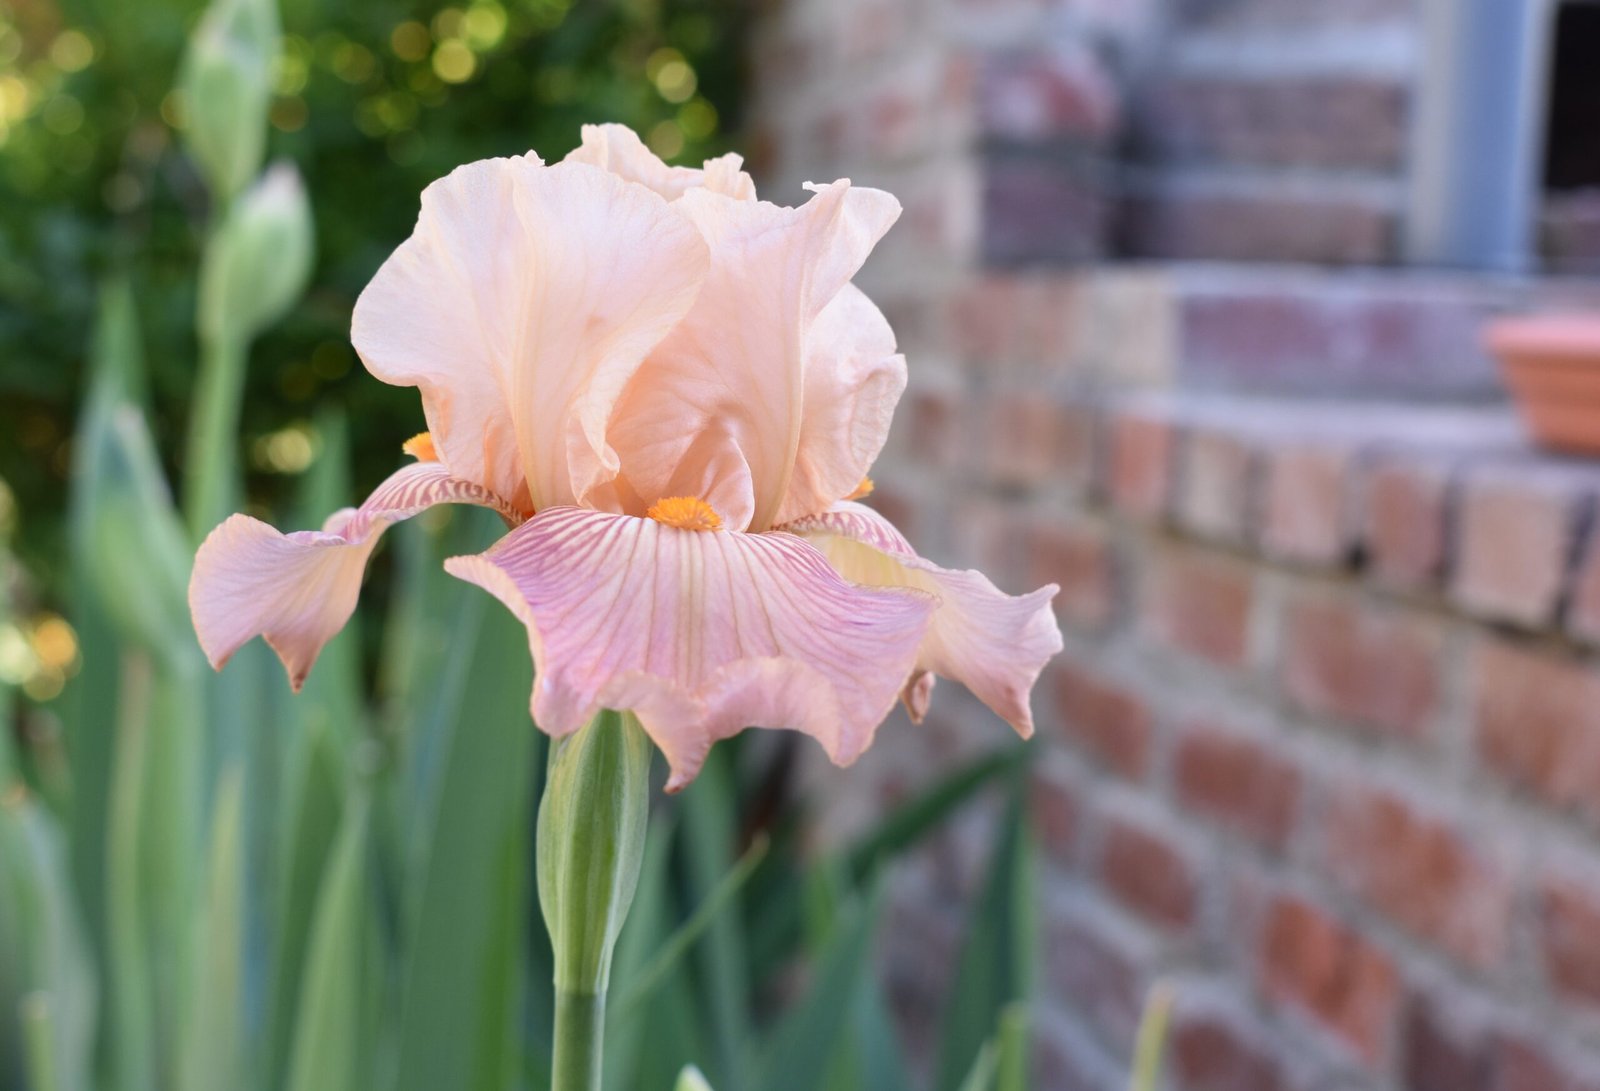
Irises grow from fleshy roots called rhizomes, with long, sword-shaped leaves. They produce flowers along a stalk and bloom in a wide range of colors, including white, yellow, orange, red, blue and purple (some purples so deep in color they appear to be black). You can find them with a single, solid color or in combination of the colors listed above.
Most perennials have a specific time to shine, and for bearded irises that’s typically from late April to May in our climate. I extend the bloom period of my irises by snapping off the spent flowers as soon as they fade. It encourages the iris to produce more blooms and prevents the plant from expending its energy on developing seeds. Once all the blooms are finished, I cut the entire flower stalk down to the foliage to keep the plant looking tidy. Some varieties, labeled as rebloomers, will often send up another flower stalk for a repeat show in the fall.
Irises prefer a sunny location with at least six hours of direct sun and well-drained soil. Established irises don’t require frequent watering, but they should be watered during prolonged dry periods. Water them when the top two inches of soil is dry. If irises are in soil that is too wet, the roots will rot.
Bearded irises benefit from a feeding twice during the growing season — once before they flower and again about a month after flowering. A balanced fertilizer, such as those labeled 10-10-10 or 5-10-10, should be used. Avoid high-nitrogen fertilizers, as they encourage foliage growth at the expense of flowers.
Over time, irises will develop large clumps that should be dug up and divided (about every three to five years) to prevent overcrowding and for better flower production. Late summer (September to early October) is the best time to do this; it will give the divisions time to establish before the first frost.
Dividing isn’t difficult. Using a garden fork, lift the entire clump and pull apart the rhizome cluster into sections, making sure each has a 3- to 6-inch fan of leaves and a healthy piece of rhizome. Cut away any soft, rotten parts of roots or areas that have borer tunnels or worms. Discard any old, shriveled rhizomes in the trash.
Plant the new divisions 1- to 2-feet apart. You can plant them closer for a more immediate effect, but you’ll need to divide them again sooner. The most important thing when replanting irises is to keep the rhizome partially exposed to the sun — think of a duck sitting on water. The easiest way to do this is to dig two parallel trenches with a ridge between them. Rest the rhizome on the ridge and spread out the roots down into the trench, then cover the roots and halfway up the sides of the rhizome with soil.
In October, during fall garden cleanup, trim the iris foliage back to about 6 inches. This will keep your plant tidy and remove any potential over-wintering pests.
With a little care, you can enjoy the beauty of irises for years to come and have some extras to share with friends and neighbors.
A WSU Chelan-Douglas County Master Gardener column appears weekly in The Wenatchee World. To learn more, visit bit.ly/MGchelandouglas or call (509) 667-6540.